First steps#
Below, the most basic features of the configurator will be explained. If you are approaching this tool for the first time, it is recommended to start here to understand how it works and how to use it at its best.
Camera#
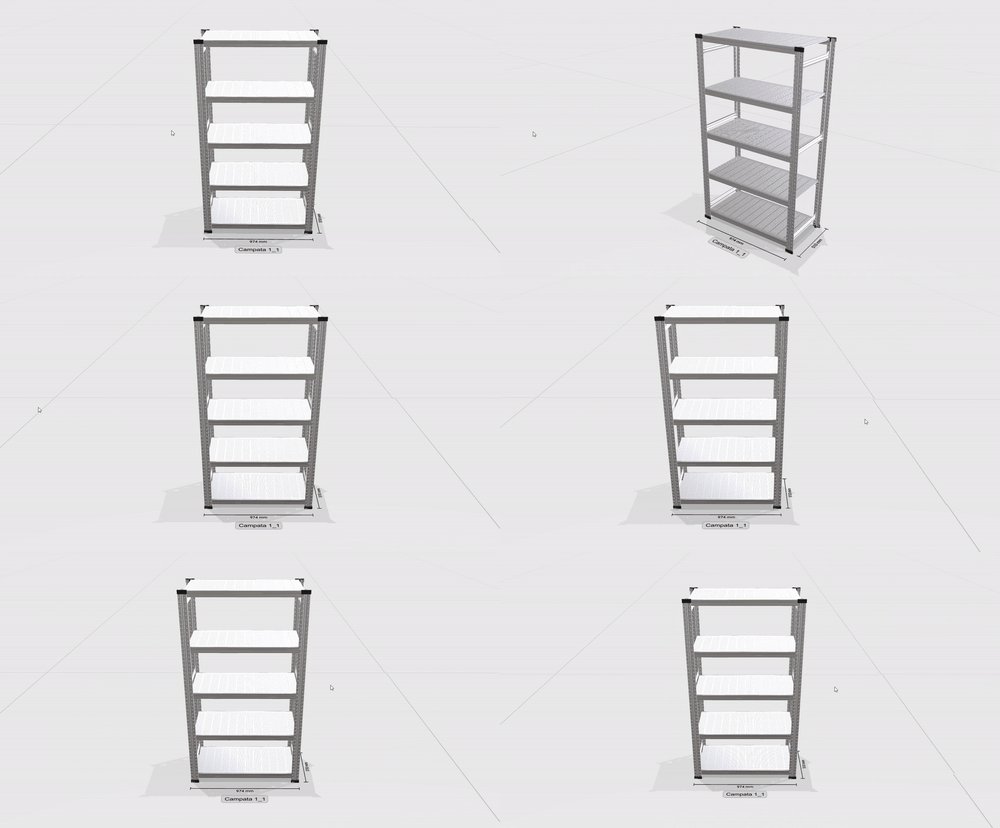
The configurator’s camera is mainly controlled using the mouse. You can rotate the camera, move it, and zoom in:
To rotate the camera, hold down the left mouse button and drag the cursor.
To move the camera, hold down the right mouse button and drag the cursor.
To zoom in, scroll the mouse wheel.
To achieve an optimal view of your configuration, it is necessary to master the camera movements by combining the actions described above.

Adding a row#
The configurator’s left panel allows the user to add a row in the 3D scene. Before adding it, however, it is necessary to specify some preferences:
Shelving type: allows the user to choose the basic configuration of the first bay of the row to be inserted. Choices are:
Standard: the most basic bay equipped with frames and a variable number of shelves, chosen by the user.
With swinging doors and steel shelves: bay equipped with swinging doors and five steel shelves (three at fixed heights and two at adjustable heights)
With swinging doors and plastic shelves: bay equipped with swinging doors and five shelves (three fixed, two in steel and one in plastic, and two height adjustable, also in plastic)
Frame height and depth
The length of the shelves and the type of shelf/door
Shelves color if the user chose to opt for plastic shelves
Number of levels (fixed to five for swinging doors bays)
Once the preferences are set, you can click the appropriate button at the bottom of the panel to create the row.

Basic row actions#
Once the row is added, user can immediately perform some basic operations on it:
Component selection: row components can be selected by left-clicking them. To clarify what is being selected, the configure will highlight the component when the cursor is hovered over it. Editable components (like shelves and accessories) will turn green and can be individually selected, while the others will turn teal with all the other bay components because they cannot be individually selected and edited. Components are selected by left-clicking them. Once selected, the component (or the entire bay in the case of non-editable components) will remain highlighted.
Shelf movement: once selected, it is possible to change the position of a shelf on the free positions of the bay. To do it, the component can be dragged up and down holding it down with the mouse left click.
Opening and closing doors: if a swinging door is mounted on the bay, it is possible to open and close it by right-clicking it.
Checking useful info: on the base of the row, there are buttons that identify the measurements of the bay and row. Hovering the cursor over the button displays a toolbar which contains a summary of all the useful information relating to the bay. It keeps track of the bay’s measurements, the number of shelves currently mounted on the bay and the presence of doors and other accessories. By clicking the button, the entire bay can be selected.