Row management#
This section will explain how to manipulate rows present in the 3D scene.
Movement and rotation#
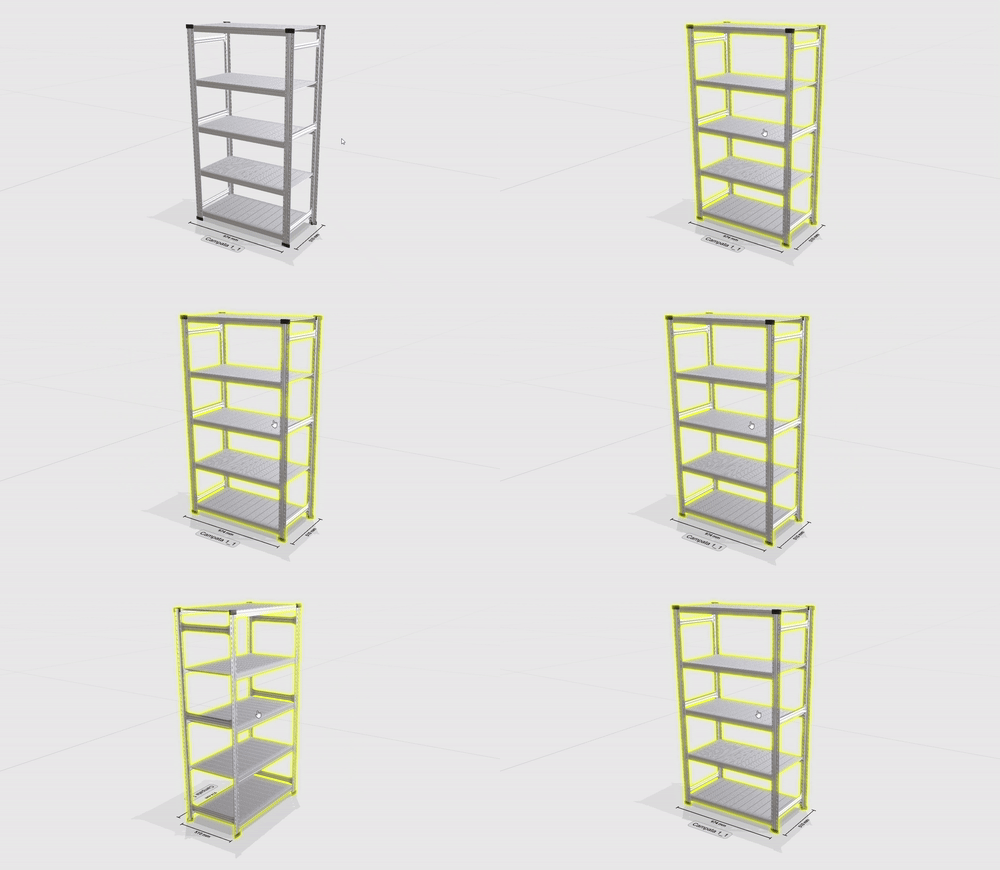
Rows can be moved and rotated at will any time. To enable these features, the CTRL key must be kept pressed. Once pressed, the entire row will turn yellow when the mouse is hovered over it – this indicates that it is possible to rotate/move it.
Rotation: a row can be rotated by right-clicking any of its components while pressing the CTRL key. The row will be rotated 90 degrees clockwise around its centre-most point.
Movement: rows can be moved by dragging them with the mouse while holding down the CTRL key. They can be moved in any direction.

Removing a row#
Rows can be removed at any moment if necessary.
To do it, any component of the row to be removed must be selected first, then the row can be deleted by pressing the button on the configurator’s left panel right under the one used to add a row. The button won’t be shown until the first row is added to the 3D scene, then it will be permanently available to the user.
To better understand which row is being inspected, the button text will display the selected row identification number. A confirmation popup will be displayed right after clicking the button – if confirmed, the row will be permanently deleted from the 3D scene.
